JavaScript is a straight-forward scripting language used for client-based Web development. Despite the name, JavaScript is not related to Java other than in its general approach of using a C-like syntax in the language structure. Originally developed at Netscape under the name Mocha, it was later renamed to LiveScript and then JavaScript. Microsoft’s version of the language was sold as JScript to avoid copyright issues.
JavaScript is a dynamic, weakly-typed, prototype-based language based on functions. What does that really mean? A dynamic weakly-typed language allows types that are associated with values, not variables (allowing a variable to change type as needed). A prototype-based language does not use classes to define object properties, but prototypes which include methods. Finally, function-based languages have functions that are objects with properties themselves (called “first class” functions).
JavaScript HTML Tags
Coding with JavaScript requires code to be embedded in HTML tags on the client side. This is done using the <script> HTML tags, with the JavaScript inside identified by the “language” attribute. A simple JavaScript code chunk looks like this:
<script language=”text/JavaScript”>
document.write(“Hello World!”);
</script>
The <script> and </script> tags mark the start and end of the JavaScript code block, and the language is specified as an attribute to allow the correct parsing of the code content. The document.write method simply echoes back what is in quotation marks. Note that each JavaScript command line has a semicolon at the end.
To show this code in a browser, you need to embed it within the <html> and <body> tags, so the actual code to be stored in a file looks like this:
<html>
<body>
<script type="text/javascript">
document.write("Hello World!");
</script>
</body>
</html>
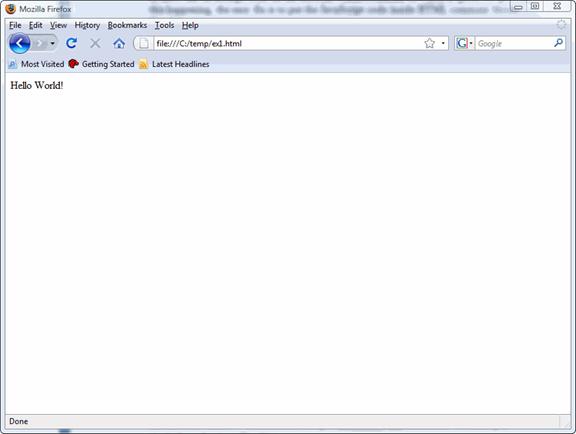
If you then open this file in a browser, you should see the string appear (you may be prompted to override security restrictions; this is especially true with current versions of most browsers that try to restrict script activity for security reasons):
A problem with this simple bit of code crops up when it is executed by a browser that does not support JavaScript (or one that has JavaScript disabled). This will display errors or show the JavaScript code on the browser window, neither of which is good. To prevent this happening, the easy fix is to put the JavaScript code inside HTML comment blocks like this:
<script language=”text/JavaScript”>
<!--
document.write(“Hello World!”);
// -->
</script>
Using comment blocks makes sure that if the browser cannot handle JavaScript, it interprets the contents as a comment and ignores it, removing the error condition. The JavaScript parser itself knows the HTML comment blocks are used in this manner and also ignores them. JavaScript comments are embedded in C-like syntax, either as a single line or as a block of lines, like this:
<script language=”JavaScript”>
<!--
/*
This is a comment block
This line is part of the comment block, too
*/
document.write(“Hello World!”);
// This is a single line of comment
// -->
</script>
Usually, the JavaScript code is embedded in the <head> tags of the page, although there can be exceptions. Also keep in mind the code in these examples needs to be within the <html> tags of the page, as well. The complete code for the example shown above should look like this:
<html>
<body>
<!--
<script type="text/javascript">
document.write("Hello World!");
</script>
// -->
</body>
</html>
And, when executed, this will display the string in browsers that support JavaScript, and ignore the script lines in browsers that do not.
Simple JavaScript String Handling
In the code snippets above you saw the document.write command. This writes output to the browser window. You can use multiple document.write commands to build up a single line of output, like this:
<script language=”JavaScript”>
document.write(“Hello ”);
document.write(“World”);
document.write(“!”);
</script>
This will produce the same output as the code shown earlier, which is to write “Hello World!” to the browser:
(Note that for illustration sake the comment tags are dropped in these examples so only the relevant JavaScript code remains; you should add the comment tags, as well as the <body> and <head> tags to your code.)
To use line breaks HTML <br> tags are used:
<script language=”JavaScript”>
document.write(“This is a line.<br>”);
document.write(“As is this.<br>”);
document.write(“Goodbye!”);
</script>
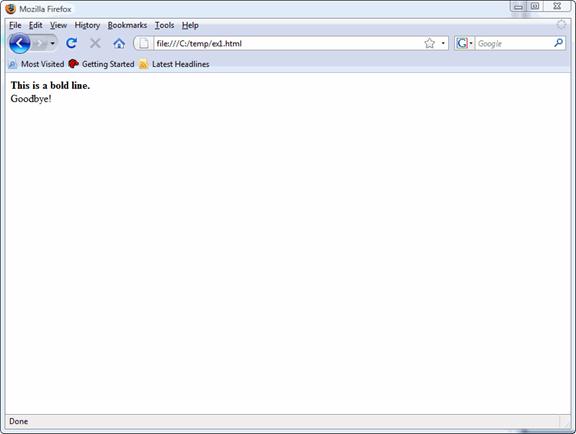
A useful feature of JavaScript is the ability to add other HTML tags to format strings, such as this:
<script language=”JavaScript”>
document.write(“<strong>This is a bold line.</strong><br>”);
document.write(“Goodbye!”);
</script>
When run, this results in the following:
Any valid HTML character tag can be used in this way as part of a JavaScript string.
To split a string at some character (such as a delimiter), use the split method (part of the String object). For example, to split the string "Good, Bad, Evil" at the commas and store the result in an array, you would use this code:
<script language=”JavaScript”>
var myString = "Good, Bad, Evil";
var myArray = myString.split(",";
document.write("The second part is ", myArray[1]);
</script>
This will output the second value of the array created by the split.
JavaScript Variables
JavaScript uses variables like most other languages. You simply define the variable name and give it a value. Since JavaScript is not strongly type-enforced, you can define variable types as part of the definition or a redefinition of the value. Simple examples of JavaScript code to create variables are:
<script language=”JavaScript”>
var pi=3.14159;
var goaway = “Goodbye!”;
var myVar1 = “Tuesday”;
var myVar2 = 68;
var myVar3;
</script>
You do not have to assign a value to a variable immediately as the last example above shows. This creates a variable called myVar3 that has no value (and no type) assigned yet. You can reassign a variable value any time, simply by using an assignment operation.
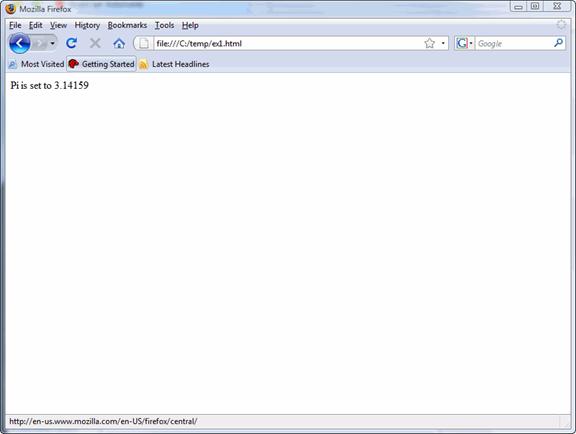
To output a variable value, use the document.write method with the variable name. The last value assigned to the variable will be output:
<script language=”JavaScript”>
var myPi=3;
myPi=4;
myPi = 3.14159
document.write(“Pi is set to “, myPi); ***check***
</script>
This will generate a string of “Pi is set to 3.14159” which reflects the last value assigned to the variable “pi”. (Note that "PI" is a reserved word so "myPi" was used to create the variable.)
JavaScript allows arrays to be created and managed easily. To create an array, declare the variable name as an Array type with the number of elements to be included in the array in parentheses. You can then assign values by referring to the element number:
<script language=”JavaScript”>
var myArray = new Array(5);
myArray[0] = 0.1;
myArray[1] = 0.2;
myArray[2] = 0.3;
myArray[3] = 0.4;
myArray[4] = 0.5;
</script>
Keep in mind that JavaScript uses zero-origin subscripting for arrays, so myArray(0) is the first element in the array and myArray(4) is the fifth (and in the example above, the array has five elements).
You can initialize the values of the array when the variable is declared, as shown below for an array with the days of the week names:
<script language=”JavaScript”>
var DOW = new Array("Monday", "Tuesday", "Wednesday", "Thursday", "Friday", "Saturday", "Sunday);
</script>
This will create an array with seven elements (the number of arguments sets the array size). You can call any element using the proper subscript.
Functions and JavaScript
JavaScript functions fall into two categories: those defined as part of the JavaScript language and those the user defines. Functions are used by simply calling them by name with the arguments specified if needed. This is usually done in the <head> section of the page's HTML code. To create a function, define the function by name and enclose the function code in curly braces:
<script language=”JavaScript”>
<!--
function sayHello() {
document.write("Hello there!");
}
// -->
</script>
This function can then be called later in the <body> section of the page by calling the function:
<script language=”JavaScript”>
<!--
sayHello();
// -->
</script>
To work with arguments in a function, they are added to the function definition and assigned when the function is called:
<script language=”JavaScript”>
<!--
function doMult(num1, num2) {
var multresult = num1 * num2;
document.write(multresult);
}
// -->
</script>
This is then called in the code in the <body> of the page by providing two parameters:
<script language=”JavaScript”>
<!--
doMult(2,4);
// -->
</script>
If the number of arguments do not match, errors will result, otherwise, the string is executed from the function definition:
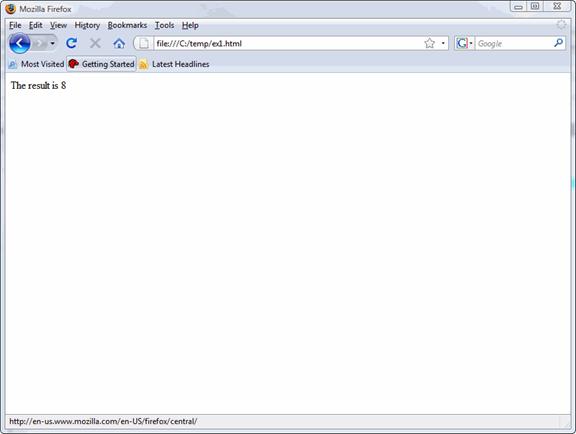
Finally, you can return values from a function. This is easily shown by modifying the example we just used:
<script language=”JavaScript”>
<!--
function doMult(num1, num2) {
var multresult = num1 * num2;
return multresult;
}
// -->
</script>
The return keyword specifies what will be returned from the function call, and the calling script can then assign that returned result:
<script language=”JavaScript”>
<!--
num1 = doMult(2,4);
document.write(num1);
// -->
</script>
A useful feature of JavaScript is the ability to embed function calls into HTML tags. This allows a JavaScript action when a user clicks an item on a generated page, for example. In the code below, clicking a link launches the sayHello function shown earlier. You can do this in two ways, typically, including using the <a href> tag. The code looks like this:
<head>
<script language=”JavaScript”>
<!--
function sayHello() {
window.alert("Hello there!");
}
// -->
</script>
</head>
<body>
<a href="javascript:sayHello();">Click here to say hello."
</a>
</body>
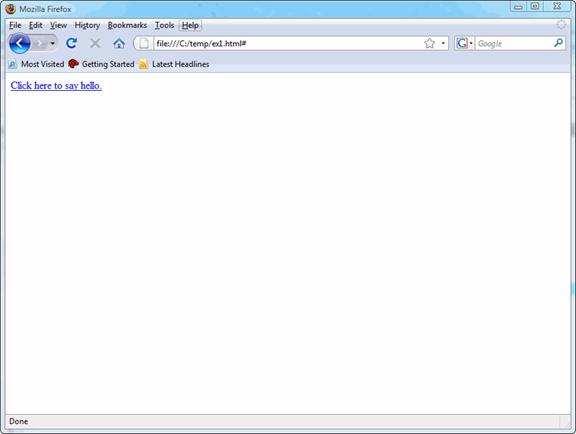
This code uses the window.alert function to display a string in a dialog window when executed. When run this code will show the text line in a browser:
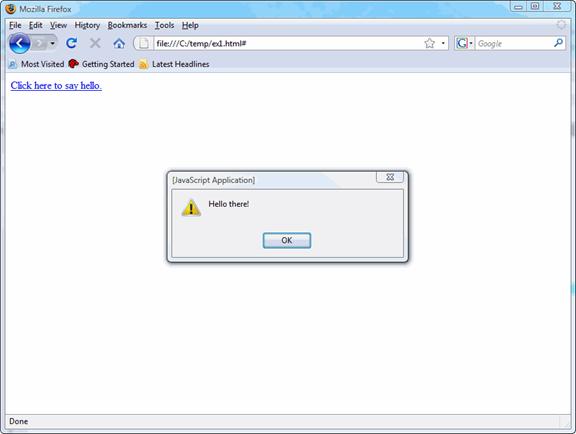
When the href link is clicked, a dialog pops up from the window.alert function:
Controlling Flow
As with most languages, there are the usual logic control structures provided for JavaScript. The "if" statement checks to see if a value is true or false. If it is true, any code in curly braces following the condition (embedded in parentheses) is executed. Optionally, if the condition is false, a second set of statements in curly braces can be executed. For example, the code below checks to see if a variable "x" has a value of 10:
<body>
<script type="text/javascript">
<!--
x = 10;
if (x == 10){
document.write("The current value of x is 10");
}
else {
document.write("The current value of x is not 10");
}
// -->
</script>
</body>
</html>
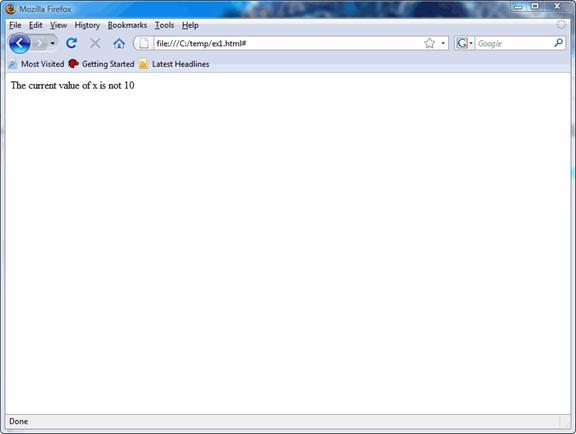
The variable value is explicitly defined in the code, but usually would come from a calculation or user input. In this case, the if condition is true so the statement in the first set of curly braces is executed. If we change the value of x to 9, for example, the condition is false and the second set of statements after the "else" are executed:
Instead of defining the value in the code, we can let the user choose input and then use the if statement. We can use the window.confirm function to allow the user to choose either "OK" or "Cancel" and then use an if statement to execute other code based on the user's choice. The code looks like this:
<body>
<script type="text/javascript">
<!--
var myClick = window.confirm("Click OK or Cancel");
if (myClick == true){
document.write("You clicked OK");
}
else {
document.write("You clicked Cancel");
}
// -->
</script>
</body>
</html>
This code hinges on the fact that clicking the OK button in the window.confirm dialog sets the value of the variable to "True". When run, the window.confirm pops up the dialog:
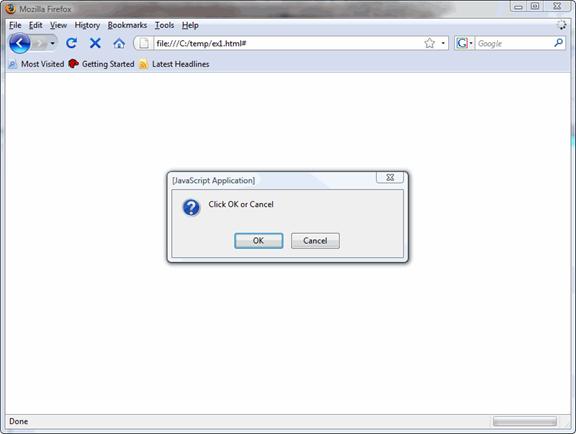
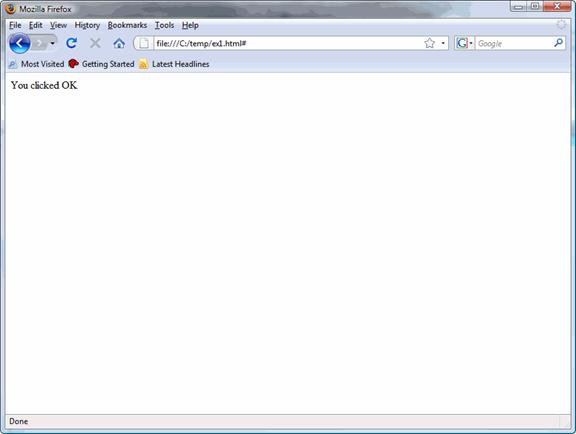
If the user clicks the OK button, myClick is set true and the if statement condition evaluates to true:
The "for" loop is used to repeat execution of one or more statements for a set number of times. The syntax is C-like:
for (initial declarations; execution condition; step){
}
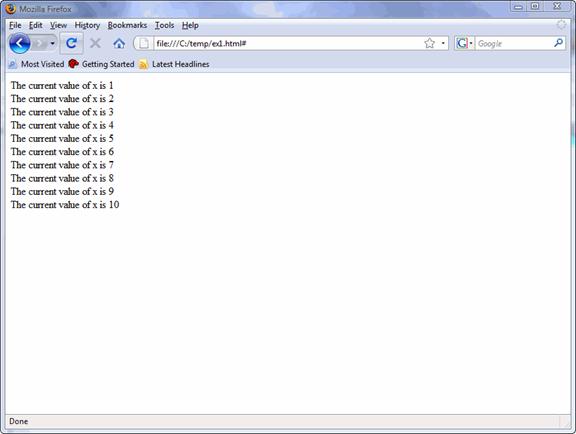
The initial declaration is used to set one or more variables used in the for loop. The execution condition is tested to see whether to execute the code in the curly braces or not, and the step is one or more statements executed every time the for loop completes. A simple example showing a counter from 1 to 10 helps show how this works. The complete code looks like this:
<html>
<body>
<script type="text/javascript">
<!--
for (x = 1; x <= 10; x++){
document.write("The current value of x is ", x, "<br>");
}
// -->
</script>
</body>
</html>
When executed, the browser shows the results of the looping until the value of x reaches 10:
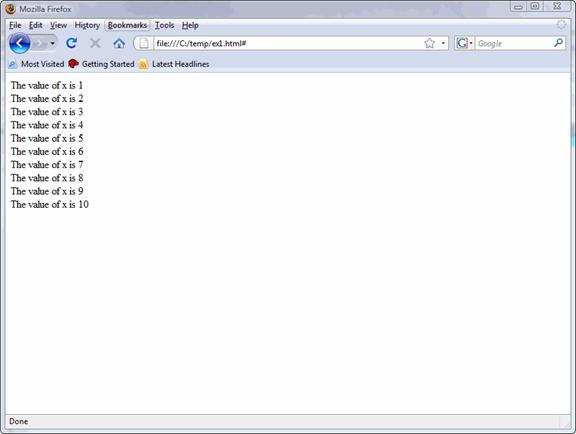
Finally, the while statement allows you to perform one or more statements depending on a condition. The code below does the same task as the for loop example:
<html>
<body>
<script type="text/javascript">
<!--
x = 1;
while (x <= 10){
document.write("The value of x is ", x, "<br>");
x++;
}
// -->
</script>
</body>
</html>
And when run, this code produces the expected output:
Working with Windows
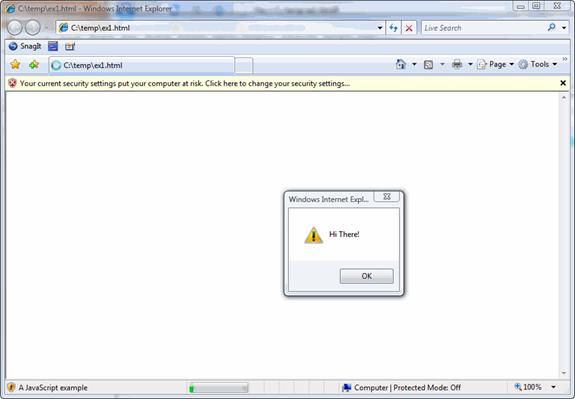
JavaScript has a number of ways to handle dialogs and new windows. You've already seen a couple of these statements, such as window.confirm and window.alert. This code pops up a dialog box using window.alert, and also sets the text at the bottom of the window:
<html>
<body>
<script type="text/javascript">
<!--
window.status;
window.status = "A JavaScript example";
window.alert("Hi There!");
// -->
</script>
</body>
</html>
When run, this will set the status message (note that the status messages do not work with Firefox like they do with IE) and display a dialog:
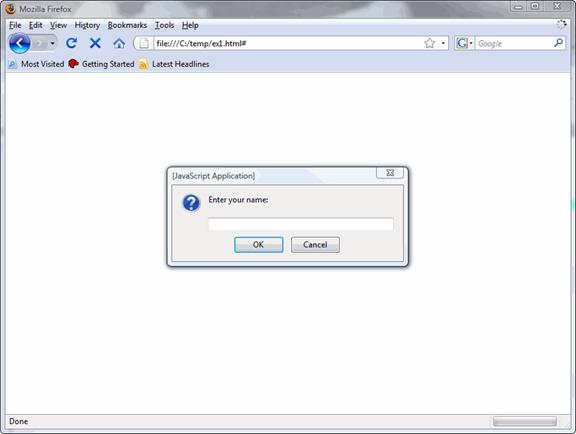
You saw the window.confirm dialog earlier, which allows a user to select an OK or Cancel button. To allow the user to enter a value, the window.prompt function is used:
<html>
<body>
<script type="text/javascript">
<!--
var myString = window.prompt("Enter your name:");
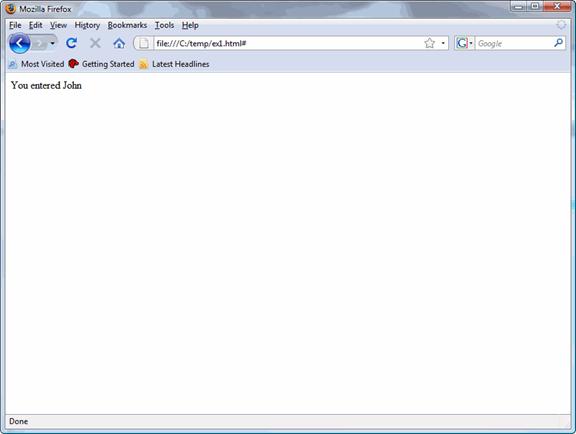
document.write("You entered ", myString);
// -->
</script>
</body>
</html>
When run, this displays the prompt dialog with the string specified:
When you enter a string (such as "John") the result is displayed:
You can open a new browser window from inside JavaScript using the window.open function with the argument specifying the page or file to open. For example:
<html>
<body>
<script type="text/javascript">
<!--
window.open("http://www.google.com", "Google")
// -->
</script>
</body>
</html>
Keep in mind that security settings on most browsers will prevent a new window from being opened by a script, unless overridden by the user.
Handling Cookies
JavaScript can create, modify, and read cookies to store information on a client machine. To create a cookie, a value is assigned to the document.cookie object and a value is assigned to that cookie:
document.cookie = "myCookie=" + escape("My Cookie");
The escape is used to encode the string so it can be read on any device (it handles special characters properly). This creates a cookie with the value of "myCookie" set to "My Cookie" (the cookie actually stores this as a name/value pair set to "myCookie=My%20Cookie" with the space set to %20 (ASCII value).
The cookie can then be read using the split statement to cut the string at the equal sign (you saw the split earlier for strings):
var theCookie = document.cookie
var cookieParts = theCookie.split("=");
window.alert("The cookie value is ", unescape(cookieParts[1]));
Note the use of unescape to convert the escaped string to a normal string.
Wrapup
We've only just scratched the surface of JavaScript's language capabilities, but as you have seen so far it is relatively easy to work with and a lot less fussy than other languages. JavaScript has a wealth of functions built in, and the ability to see the results of your coding in a bro3wser as you go is a welcome feature. Of course, you can build complex programs in JavaScript, but most developers use it for relatively straight-forward coding tasks that can execute on the user's browser, instead of having to perform those tasks on the server.